|
This guidance is intended for the visitor. Departments can find additional guidance in the Using Concur section |
Claiming expenses
On this page:
Open claims
After logging in the dashboard will be displayed, this will show any claims that are in progress in the Open Claims section.
Expenses can be added to an open claim by selecting it from the dashboard and adding expenses as below.
You can return to this dashboard at any time by selecting the Concur logo in the top left of the screen.
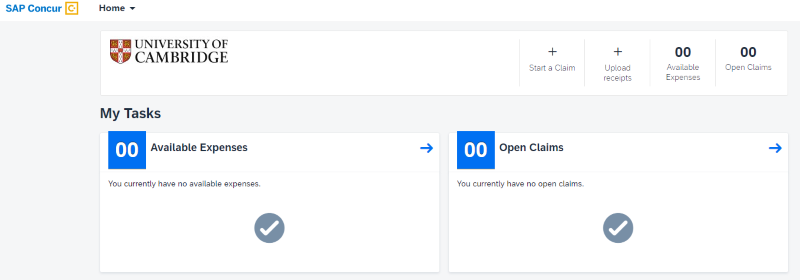
The SAP Concur logo will always take you back to the main dashboard where you will see a list of your open claims.
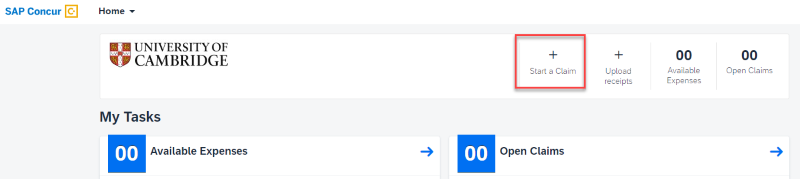
Creating a new claim
You will create one claim for your visit, multiple expense items are then added to the claim.
Step 1 - To start a new claim, select Start a Claim from the top menu.
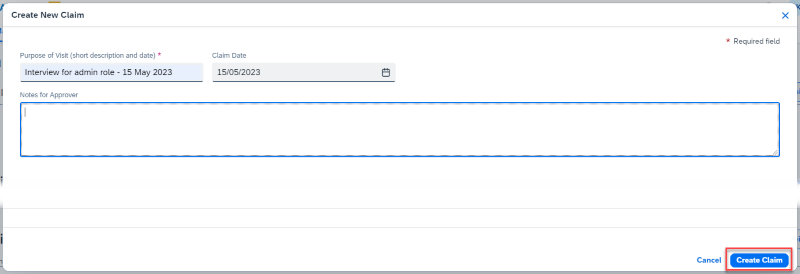
Step 2 - Add a short description of the visit and the date (the claim date will default to the current date which can be changed if necessary).
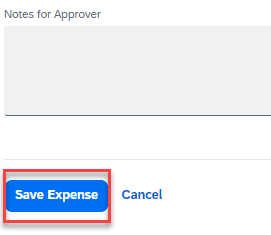
Any additional information can be added in the Notes for Approver box, the department may have asked for specific details to be added.
Step 3 - Once complete, select Create Claim.
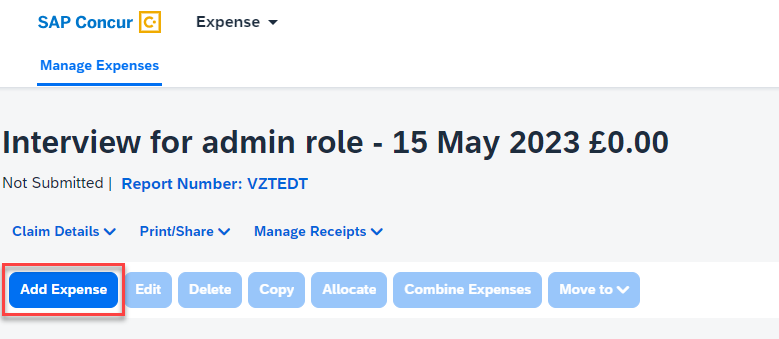
Adding expenses
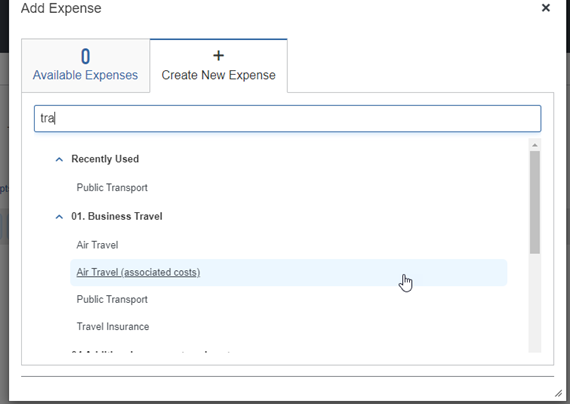
Step 1 - To add an expense, select Add Expense.
Step 2 - Choose the expense type from the list or use the search field to find the required expense type. The list will filter dynamically as the search term is entered. Recently used expense types will appear at the top of the list.
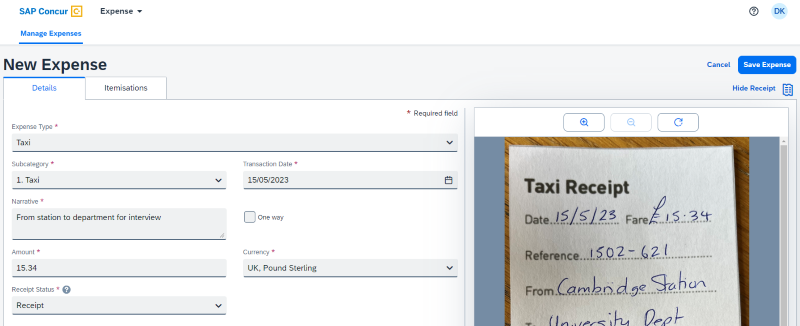
Step 3 - The fields displayed on the next screen will vary depending on the expense type selected. Complete all fields marked with an *
The narrative field will pull through from the claim header, this should be edited to add any details about the expense that is not covered by the other fields.
If additional information has been requested by the department or further explanation is needed, this can be added in the notes for approver box.
Adding receipts
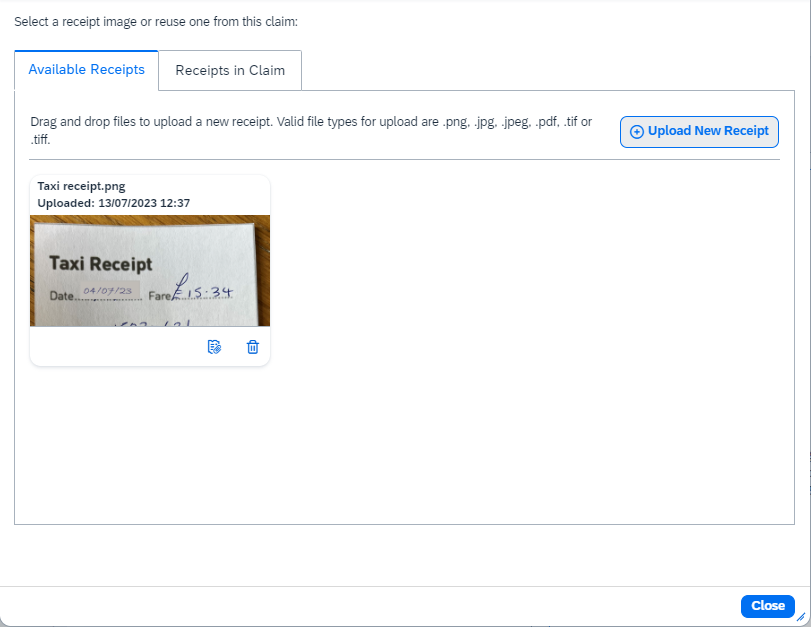
Step 1 - Add a receipt to the expense item, this can be done by selecting the Add Receipt button and selecting a file from the computer or dragging the file into the receipt field.
Step 2 - Select a receipt image or reuse one from this claim.
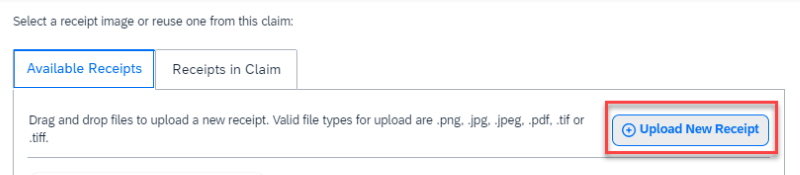
If receipts have been uploaded to the Concur account previously, they will appear in the Available Receipts tab.
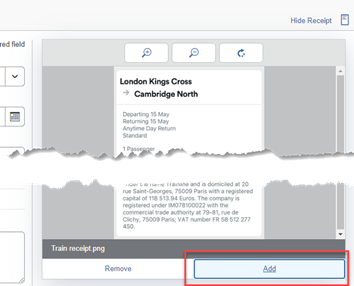
Additional receipts or supporting documents can be added by selecting Add, underneath the receipt image.
Step 3 - Once all the details are complete, select Save Expense from the bottom of the screen.
Step 4 - Continue to add any other expenses in the same way.
Step 5 - Save each new expense, once all the expenses have been added submit the claim.